
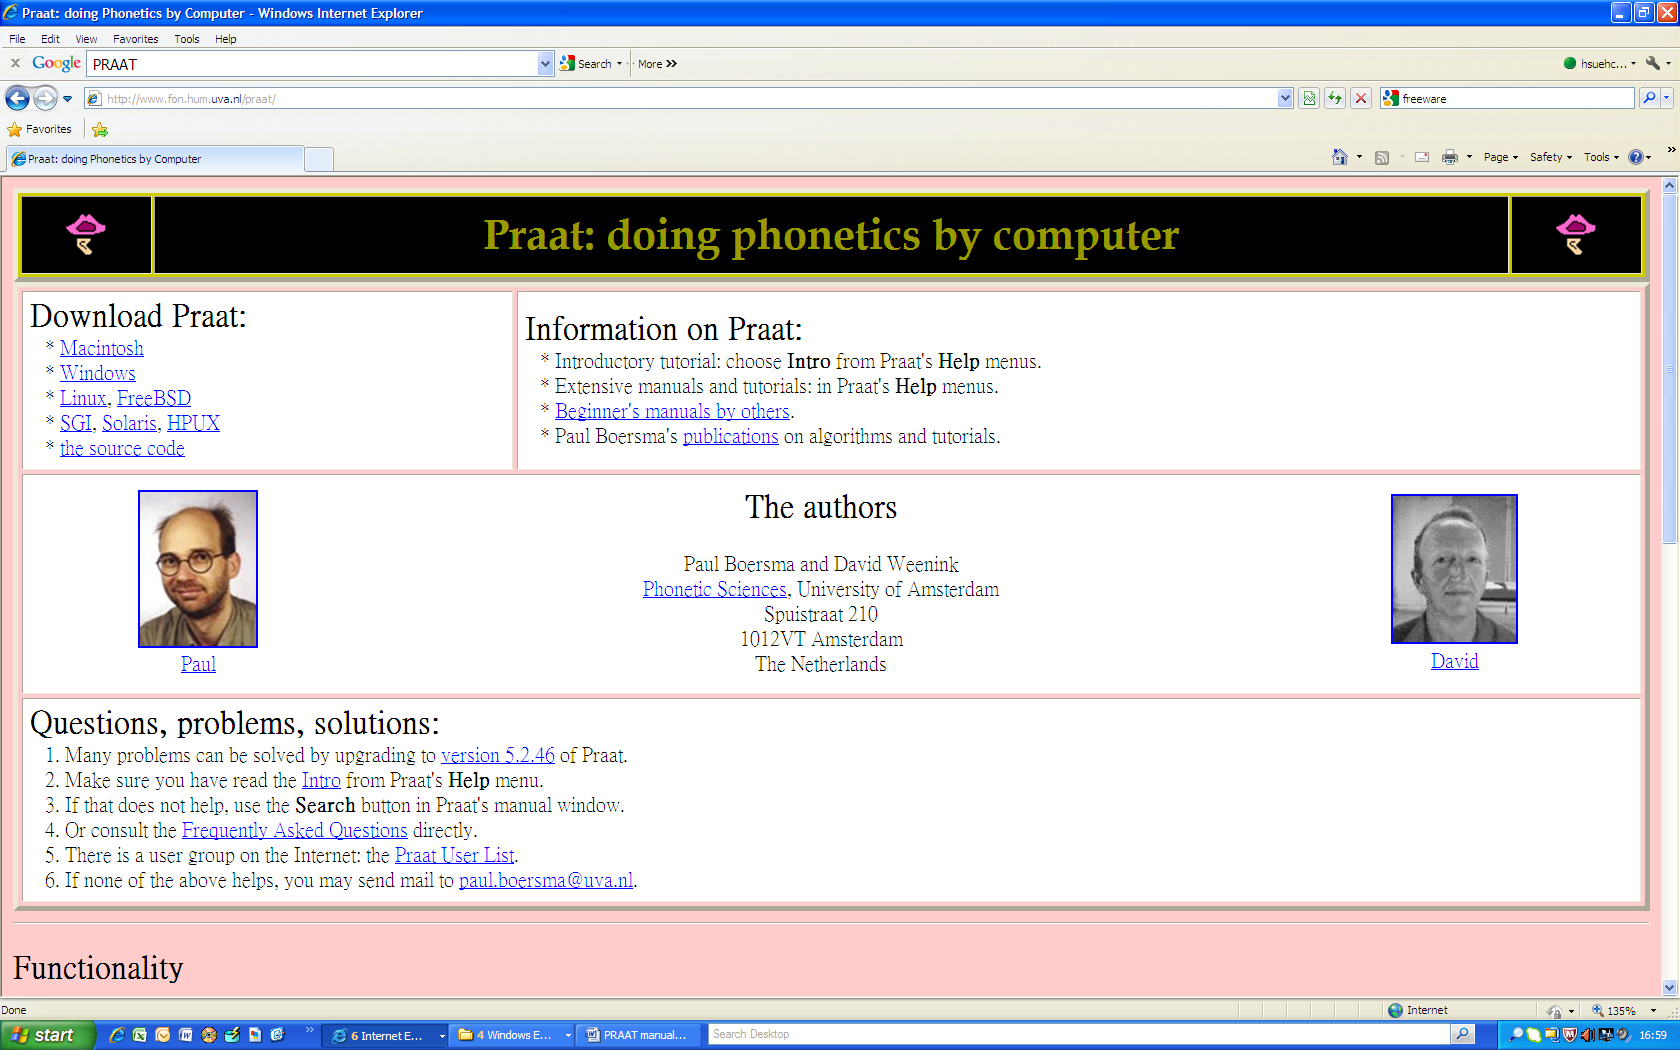
Praat is a freeware program for the analysis and reconstruction of acoustic speech signals. You can analyze, synthesize, manipulate speech and create high-quality pictures for your articles and thesis with it. It can be downloaded from the following website: http://www.fon.hum.uva.nl/Praat/.
Figure 1.2
Once you've opened Praat, several windows will open automatically, and there are many other windows which will pop up later on when you click different buttons, so we’d better discuss different windows in Praat before we introducing different buttons.
A. Praat Objects window
The Praat Objects window (Figure 1.3 on the left) is where you can open, create and save files. This menu can be used to open the various editors and queries which you’ll need to work with sound files.
Figure 1.3 Praat Objects Window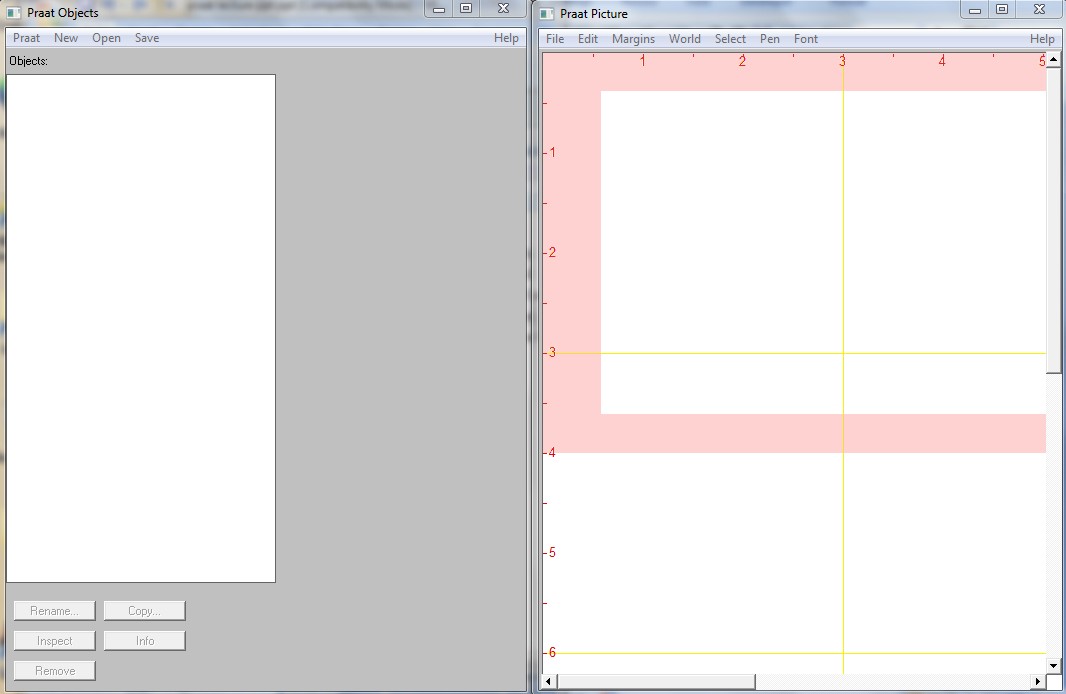
After opening the program, Praat has no objects in its object list. Therefore, the list is empty and the buttons (at the bottom) are disabled and shown in grey. When you put the sound files in the list, menus and buttons are become dynamic, and they may change (appear, disappear or be disabled) according to the selected objects.
You can create a new sound via Menu: "New" → "Record a mono Sound" → "Record" → "Stop" → "Save to the list" → "type the file name" → "OK".
Then, the sound you’ve just recorded will appear is now in the list of objects with the file name as "Sound+ name". As it is selected (in blue), many buttons appear on the right and at bottom are now enabled.
The five buttons at the bottom are called the fixed buttons. They might be disabled if nothing is selected or present in the list. These functions are common to all objects whatever the type.
- Rename: Rename an object
- Copy: Duplicate an object
- Remove: Delete an object
- Info: Get the results from various queries on an object
- Inspect: Browse the internal data of an object
The buttons on the right of the list (in Figure 1.4) are the dynamic buttons. We'll go through most of them in our following session 1.3. The buttons on the right won't appear if no object is selected or several objects of different types are selected at the same time.
Figure 1.4 Buttons on Praat Objects Window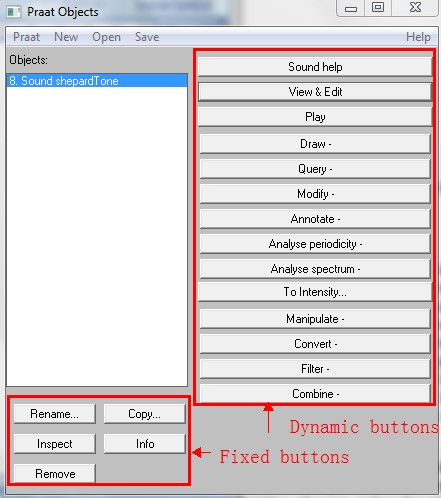
B. Editor window
The Editor window (Figure 1.5) is where you’ll spend most of your time processing and measuring the sound file. You can access the Editor window by selecting a sound and clicking on "View & Edit". When you open the Editor window, the sound’s waveform and spectrogram will be shown on the top and the bottom respectively, and the cursor will allow you to make selections and measurements. The menus on the top allows you to show and hide different acoustic information (e.g. formants, pitch, intensity), as well as to make more detailed queries.
Figure 1.5 Editor Window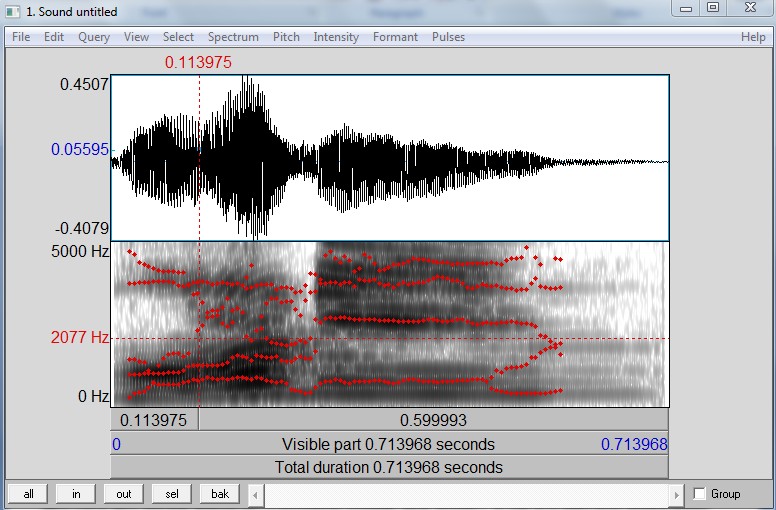
The menus on the top of the Editor window contain the following options( Lieshout, 2005: 13-14):
- File: to extract selections in different ways, to open a script file, etc.
- Edit: to copy or paste parts of a signal, etc.
- Query: to get information on the cursor position, selection boundaries, define settings for logs and reports, etc.
- View: to select the contents of the window (spectrogram, intensity etc.) and control zoom settings.
- Select: to control cursor positions.
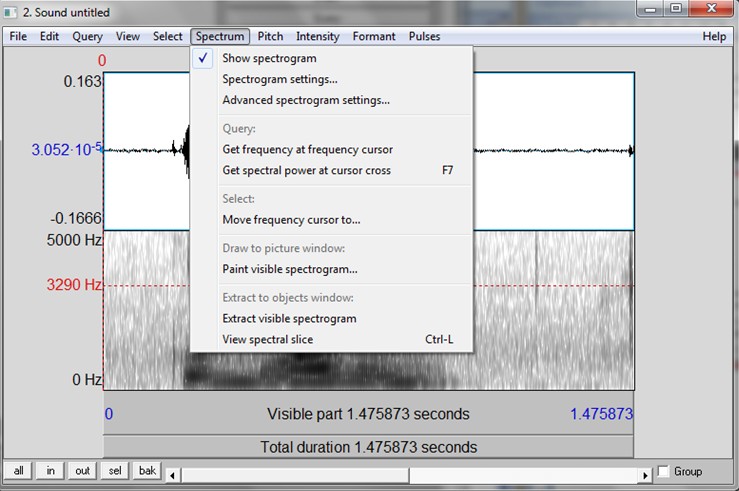
- Spectrum: to control the spectrogram settings and extract information; the frequency value at the cursor position is indicated on the left hand outside of the panel in a red font.
Figure 1.6 Spectrogram menu
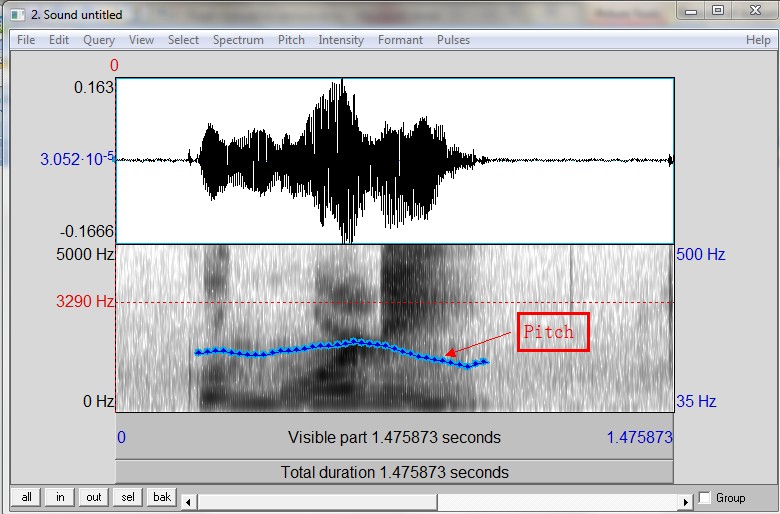
- Pitch: to control the pitch settings and extract information; by default the pitch signal is shown in a bright blue solid line and the value at the cursor position is indicated on the right hand outside of the panel in a dark blue font.
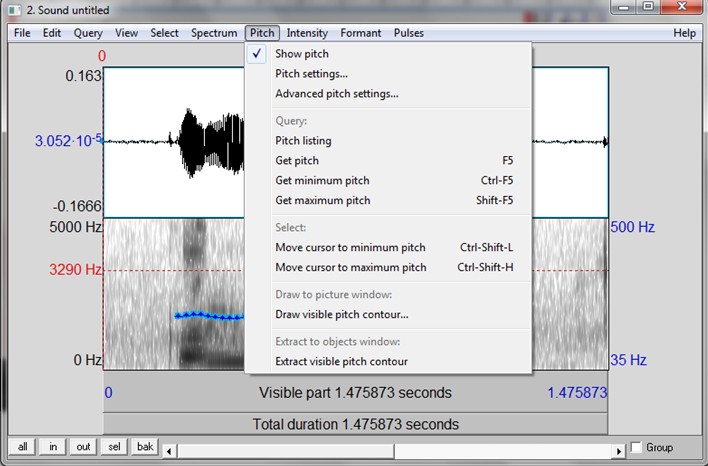
Figure 1.8 Pitch contour overlained on spectrogram in Praat
- Intensity: to control the intensity signal settings and extract information; by default the intensity signal is shown in a yellow solid line and the value at the cursor position is indicated on the right-hand side of the panel in a bright green font.
Figure 1.9 Intensity menu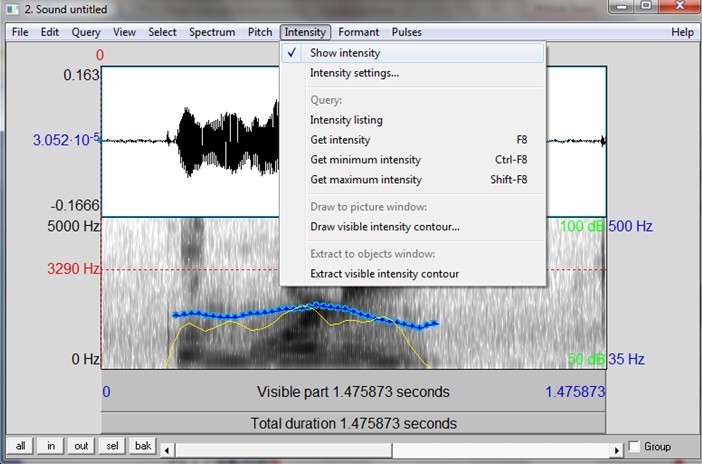
Figure 1. 10 Intensity contour in Praat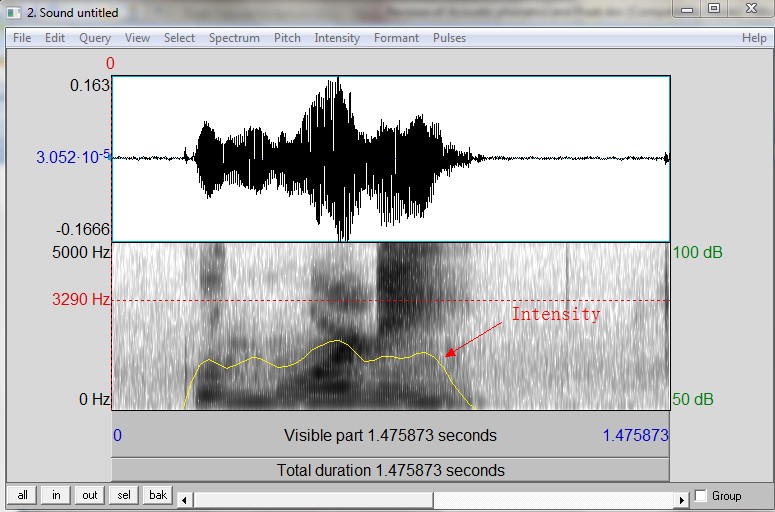
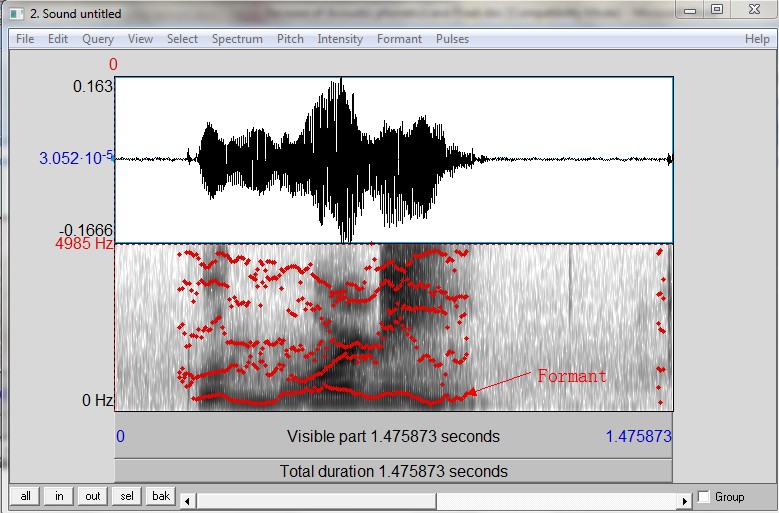
- Formant: to control the formant settings and extracts information; by default the formants are shown in red dotted lines. You can adjust the numbers of formants presented and the maximum formant via "Formant" → "Formant settings…" In later chapters (1.4.5), we will introduce how to adjust the formant settings and extract formant information in detail.
Figure 1.11 Formant menu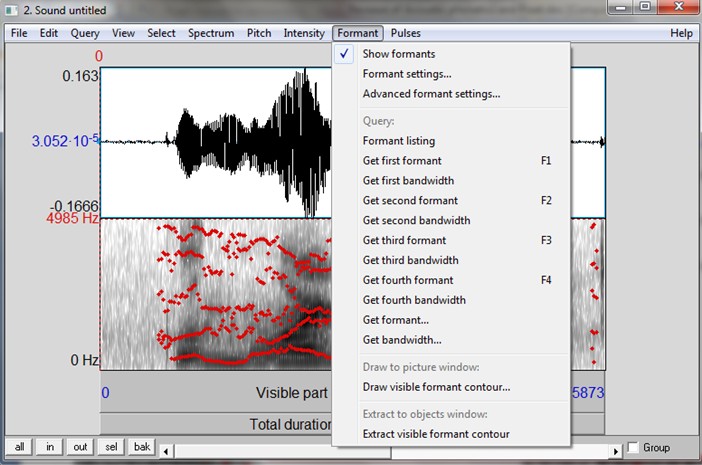
Figure 1.12 Formants in Praat
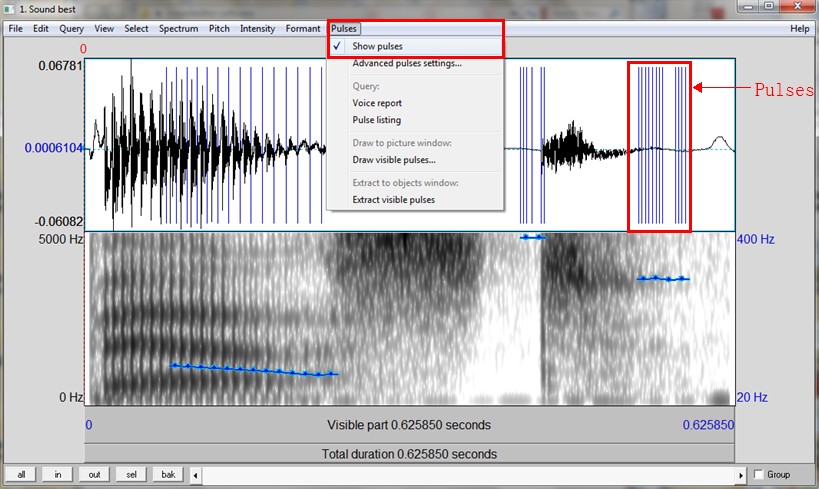
- Pulses: to set pulses and to extract specific information on voice parameters like jitter and shimmer; pulses are indicated in the top panel with vertical blue solid lines.
Figure 1. 13 Pulses in Praat
C. Info window
When you make a query, either in the editor window or from the objects window, the Info window will pop up with your results. You can also print to this window when scripting in Praat. Please note that information printed here will not necessarily be saved, and running a new query will overwrite it by default.
Figure 1. 14 Praat Info window to show information on mean pitch 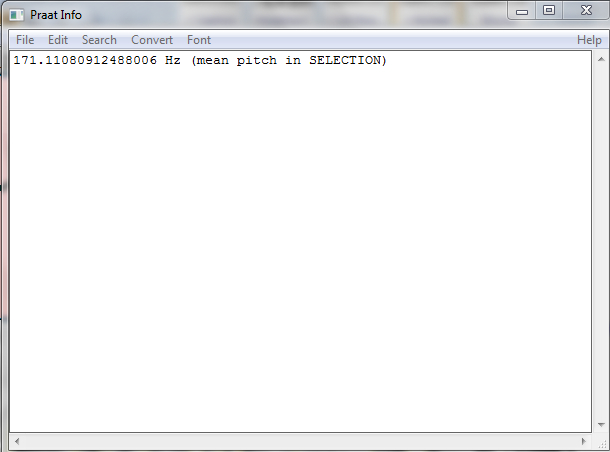
D. Praat Picture window
The Praat Picture window (Figure 1.15) is used to create and display publication-quality images, and is open by default when you start the program.
Figure 1. 15 Praat Picture window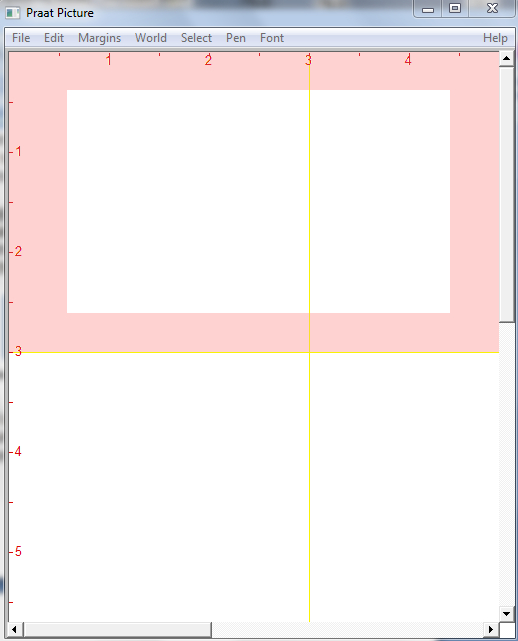
Hits: 30406